Blog

Aurora Borealis - May 10th / 11th 2024 G5 Aurora over Scotland

Approaching the Balvaird Castle Light Show - Nikon Z 8 with 14-24/2.8S @ f/2.8, 20s, ISO 800

A Geomagnetic Storm

Intense aurora displays are generated following massive explosions originating from the sun known as 'coronal mass ejections'. These explosions release clouds of hot plasma containing billions of tons of material travelling at around two million miles per hour. When this material reaches Earth, it interact with Earth's magnetic field to cause events called geomagnetic storms.

The strongest geomagnetic storm in over two decades dazzled photographers and astronomers in May 2024. This G5 storm culminated in a remarkable display of the aurora borealis overnight on May 10th–11th, and was visible from many areas worldwide, including extremely low lying latitudes that have simply never seen the likes of this type or power of aurora, or in fact any aurora at all.

This picture above shows the true nature of the colour present in the night sky during such aurora storms. Shot with a white balance of 5500K, if our eyes were as sensitive as a camera, this is what we would see, a warmer colour than human eyes can see due to the purkinje effect. The purkinje effect describes the situation in human vision: as light levels decrease, the perception of warm colours drops, especially the red end of the spectrum. It is very important to observe the night sky with dark adapted eyes. To properly have your eyes adjusted for light levels this low, one must observe for at least 30 minutes and avoid all forms of artificial light during that time. People that say that the aurora is only good / visible on camera, are often observing the night sky with un-adapted vision, though it must be said that weak aurora will not register with most regular eyes. In the northern hemisphere, we would normally be searching the northern horizon for Aurora however….

Facing South-East - Corona

With powerful storms, aurora becomes a huge event around the world, and increasingly powerful storms allow it to be seen in all directions, varying throughout the night.

Aurora Colours

A basic knowledge of chemistry dictates that gases produce differing colours when they are heated. On Earth, the most abundant elements in our atmosphere are Nitrogen and Oxygen. Nitrogen tends to produce the pinks and blues if they occur, and the greens tend to come come from oxygen.

This picture above shows the aurora borealis corona facing south-east. (Corona, being like the origin point). Unheard of, and occurring in only the most powerful of displays, it seemed like there was Aurora across the whole sky, even at zenith. (Think of zenith as the sky directly overhead when standing at a location).

Pink Aurora Pillar

I spent some time focusing on compositions that avoid severe key stoning to the castle. Key stoning occurs when we use wide angle lenses close to subjects and tilt the camera and lens combination up or down. This causes large objects with straight edges, such as this castle to lean back or towards the camera. Our brains naturally correct this effect that our eyes will be “seeing” also. This caveat drove the use of some central based compositions, along with where the northern lights actually featured in the sky.

The Aurora Arc

This was an initial picture I made throughout the ever changing Aurora that night. This is facing North where we could see the vast green aurora arc with pink pillars above it. The castle seemed to be perfectly aligned with the base of this arc.

Looking north, we can see how powerful the display was. Here we can see the constellation of Corona Borealis (top right), quite fitting on this night. The rays reached zenith during the night.

Green Aurora Tracks

Although key stoning is generally ugly, I had to show these bright aurora tracks looking up a the castle here. Despite obtaining these images, I still wish I stayed out all night. I called it a day at about 2:30pm as I had a long journey to make the next day.

The Nikon D850 - Still King Years Later

Introduction

This camera is the seminal Nikon DSLR, culminating in Nikon’s years of DSLR development into an extremely well rounded do - everything camera. So many people have dumped it, and other very capable DSLRs and moved to mirrorless. I am a much more tool to task type of shooter, who values the beautifully large optical view finders in Nikon’s D8xx series cameras, and the strengths which they play to.

Specifications

  • 45.7MP BSI CMOS sensor

  • 7 fps continuous shooting with AE/AF (9 with battery grip and EN-EL18b battery)

  • 153-point AF system linked to 180,000-pixel metering system

  • UHD 4K video capture at up to 30p from full sensor width

  • 1080 video at up to 120p, recorded as roughly 1/4 or 1/5th speed slow-mo

  • 4:2:2 8-bit UHD uncompressed output while recording to card

  • 1 XQD slot and 1 UHS II-compliant SD slot

  • Battery life rated at 1840 shots

  • 3.2" tilting touchscreen with 2.36M-dot (1024×768 pixel) LCD

  • Illuminated controls

  • 19.4MP DX crop (or 8.6MP at 30fps for up to 3 sec)

  • SnapBridge full-time Bluetooth LE connection system with Wi-Fi

  • Advanced time-lapse options (including in-camera 4K video creation

D850 Image Quality and Dynamic Range

The D850’s image quality in 35mm format is still class leading, many, many years after it’s release in 2017. Even the Z7II, which on paper is very close, cannot beat it. (it’s actually slightly worse, because if used to the absolute limit, the Z7II autofocus grid is hidden in the data if pulled too hard especially in serious applications such as deep sky work the autofocus grid can be seen. This does not occur ever in DSLR’s as focusing is carried out off sensor). So even present day, nothing is touching this sensor. Let’s look at the D850’s class leading sensor stats from photonstophotos.com:

Nikon D850 Photographic Dynamic Range

This sensor clocks in a whopping 11.63 stop of dynamic range at base ISO of 64. Not only this, the RAW files are so malleable (which these charts don’t necessarily tell us) in post processing. You can pull a file any which way and it holds up. It saves you ifyou screw up when taking the image. The shadow latitude is absolutely insane. One can expose for the highlights, and drag the shadows up to get a realistic image, without horrendous noise or banding like with other brands.

Dual Gain Design

Similarly to the D810 before it, if needing to boost an exposure excessively in lower light - it is best to shoot at ISO 400 due to read noise. (note the little bump upwards in dynamic range here on the graph). What this means is, if in low light shooting portraits, or astro foregrounds, increasing dyanmic range in camera is the same as doing so in post. This is called sensor invarience. However, the reason it is best to keep it at 400 and boost later, is you will retain dynamic range, particularly highlight data. If you crush it up to ISO 6400, your dynamic range will have dropped. The key here, boost it in post. During daylight, to get the best latitude, it is obviously advisable to shoot at ISO 64. The BSI part of the sensor design means the light gathering elements of the sensor are closer to the surface of the chip. This means, that the D850 is even better than the already good D810 at high ISO, and it can be pushed even further. The D810 can produce a slight magenta glow if pushed really hard, at high ISO.

ISO 64

ISO 64 is a magic ISO where one can feel free of dynamic range problems or constraints. For example, if you shoot Sony, Canon or Fuji, you are simply missing out. It’ s ironic for the sony shooters. Nikon sensors are made by Sony; however Nikon tune them and get more out of them than Sony do. ISO 64 is a landscape photographers dream with so much latitude that exposure brackets are needed less and less. NB: Of course, still needed in certain situations.

Electronic Front Curtain Shutter

This one is really useful for us landscape and particulary, astro guys. Yes it stops vibrations, (however I had no issues with the D810, which doesn’t offer this). However, what this does provide is less wear on the shutter at night. Astro often involves many, many exposures, particularly if doing time lapse photography. Using this mode means the shutter stays open and the shutter actuations count will not rise with exposures. The electronic shutter is a huge boon for this type of shooting because of this, potentially prolonging the shutter life of the camera as well as dealing with any vibrations.

Build Quality

The build of this camera reminds me of the D700. The whole D8xx range is superb and although feel like bricks, can take some punishment and come out unscathed. I have never had an issue with this camera in this vein. Simply holding it in your hand confirms the feeling of a well crafted tool. It feels superb and ergonomic and solidly built.

Optical View Finder

The D8xx series have supberb optical view finders that give a superb in the moment feel: you are looking at the scene at the speed of light with zero lag, and zero feeling of tunnel vision with constant use. They are easy to use and compose with. Information on the LCD panel below is sufficient and gives all the details one would want. The only minor thing they should have popped in here is the battery life remaining. (It does come up when critcally low).

LCD monitor

The LCD monitor is extremely high resolution and adjusts to a level that it can be used in bright sunlight. It should, like the D800 have auto brightness, like all phones do. It seems Nikon considers it’s user base confuses brightness with actual image exposure perhaps and removed this function? It tilts in one axis only, my only complaint is that I would prefer a dual axis tilt screen, like the Z 8 and Z9 now have. (This becomes really useful when doing low lying vertical orientated shots, especially at night.

Autofocus and FPS

The autofocus in the D850 is another evolution of the D810. The D810 can’t match the D850 in sports, but this was never really my forte. I have shot some equestrian events, and some motor racing and have always been able to nail it on the D810 and make pictures with fast lenses. That said, close fast moving subjects on the D850 have a higher hit rat with this camera. There are lots of modes and options to make the camera do what you wish it to do. The camera shoots at 7 FPS in full RAW mode, producing gorgeous, highly editable files.


Use Cases:

Deep Sky Astro

I have a tutorial on this here with the D850 used for years to photograph the deep night sky. For this camera body, shoot at a higher ISO for this specific purpose and ignore what I have said above about limiting to ISO 400. Nikon camera’s can produce concentric circles when shooting at too low an ISO and stacking multiple hours of night sky data (commonplace in deep sky astro of course), then stretching it to reveal faint signal afterward. Start at ISO 800 to reduce your chance of problems in this regard.

Landscape Photography

You are in good company if you particpate in this genre. For 99% of shooting, you will be at ISO 64. To maxmise IQ, in lower light, ISO 400 should be selected (dual gain point, below that, the sensor is ISO invariant). I don’t need to say anything more about this camera for this genre as it is tried and tested. In 35mm format, nothing beats it.

Sports

A large bright OVF is what a sports shooter should consider. They spend vast amount of time watching and studying before pushing the shutter. A lot of that time, is spend with the eye pressed up to the finder. Do you watch to watch TV all day? With the OVF advantages (and battery), along with excellent reliable AF and amazing lens selection, you cannot go wrong if you like using a body this size for sports (some prefer the larger nikons).

Portraiture / Weddings

Another obvious win for this camera. Yes it lacks eye AF, but you really don’t need this, not really. Image quality for portraits is excellent, skin tones are sublime and the files are so malleable as with the other genres, this camera is tried and tested.

Macro / Copy work

I am not a macro shooter per se, however I can see no reason why this camera would not be perfect in such disciplines. The high quality, high megapixel sensor will take care of all needs in these situations.

Final Thoughts

I would not have added a Z 8 into the mix if the D850 had a few things:

  • A higher sensitivity in lower light for astro purposes, helping vastly when constructing panos (mosaics) of the night sky

  • A dual tilt screen

  • USB charging

  • I wanted to upgrade my landscape lenses to zooms and wished the latest lenses (24-70/2.8S), (14-24/2.8S with front filters)

If you are a sports shooter, shoot weddings, or portraits, candid or in a studio with lights - think long and hard about why you want to move everything to mirrorless. The main reason I added a mirrorless body was because of the way I was using the D850. I was using the monitor most of the time these last few years, as per common landscape / astrophotography practice. So I am not missing the OVF in that regard. As soon as I want to shoot people, a wedding etc, the DSLRs come out. Don’t necessarily ditch all your DSLRs for the new toys. Tool to task…

Nikon D850 vs Z8 Dynamic Range

As you can see from above technically, I have lost a small amount of image quality at base ISO and at around ISO 400 where there is a small dip in the camera’s range. For the Z 8, we either shoot at ISO 64, or at 500 for this reason (500 is the dual gain switch point in this model and means more stretching and cleaner images can be had, then trying to drag up an ISO 400 shot). At base ISO, the image quality loss is small, but it is still mildly annoying that we have a kind of one step forward, one step back game going on here. Due to the stacked sensor, the Z 8 has about 1/3 of a stop less dynamic range. It makes it’s RAW files slightly less malleable and yes - I have noticed it. Most will not however, and it can be mitigated by good shooting technique. So no need for the sky to fall; however if you want class leading image quality at an absolute steal of a price - you have just won a watch if you pick up a D850, especially right now, or forever…Because of this, it remains Highly Recommend.

Freezing Motion in the Still Image

Nikon D800 with 135mm f/2 DC prime lens

Freezing motion in the still image is actually a very simple concept - we just require a fast shutter speed. How fast you ask? That depends on what we are trying to freeze in the frame. For fast moving objects with longer lenses, generally we are going to need shutter speeds of a few thousandth - 1/1000, 1/2000 etc and upwards. If we are talking about someone walking, depending on the subject to camera distance, lens etc, we might only need 1/500 even on a high resolution sensor. Let’s look at the example above shot at ISO 100, f/2, 1/3200. If we look at a close up we can see more clearly. The depth of field at this close range with a large sensor such as the D800, we can see the the plane of focus is very fine (it’s on the eyes of courser, however at the bottom left of the picture, water droplets come close into this plane, hence appear sharper). This is a good example to illustrate that everything is perfectly frozen here; but some of the droplets are within the depth of field more than others. I could have gone even faster here with my shutter speed if needed. (I could do that by simply doubling the ISO to get double the shutter speed).

I am shooting in aperture or manual with all of my work. Aperture is a great mode because it allows conscious control of aperture and therefore the shutter speed (by simple knowledge that opening the aperture will quicken the shutter speed, and vice versa), however you get a little more help with the onboard computer in the camera than you do with manual mode. This means generally you can react quicker to a changing scene that happens in front of camera. Aperture works so well, because we know that in bright light, if we use a wide aperture, we are going to get a fast shutter speed, even at base ISO. So all it takes for scenes like these is aperture priority mode, the widest aperture the lens shoots at, be it f/1.4, f/2, f/2.8, base ISO and an occasional glancing at the shutter speed readout in the viewfinder. If it drops lower than you want, simply up the ISO (or if possible, open up the aperture). This way of working gives great control, and speed / flexibility. Outdoors with fast lenses, it is very easy to stop motion like this. However, if we wanted to do the opposite - just stay at base ISO and close down the aperture. In aperture mode, the camera will drop the shutter speed (which again you can continually glance at in the finder), and as you get to lower speeds, the water will blur across the image. It all depends on the desired effect. Learning these things until they become intuitive is very important to mastering the craft.

Lens Design and Selecting Tool to Task Lenses

Introduction

How do we select a lens for a subject? This depends on many factors. Sometimes, one of those factors may take more of a priority over another. Say, for example, I am a landscape photographer. However, what if I am a landscape photographer on an extreme budget? Well, I might suggest looking for the most bang for buck camera and lens combo one could probably buy. A older Nikon DSLR such as a D800 in great condition, with perhaps a reasonably priced mid ranged zoom, or maybe an older mirrorless body with an accompanying lens suited to their shooting style. If money is no object, or say, less of a concern, the game changes a bit. They might be splashing out on a Nikon Z 8, or a Sony a7R V etc and the very latest zoom or prime kit. The same is the case when we select a lens for shooting. The priority is balanced with budget and intention, how the image will be used and displayed etc. This said, even despite the D800 being quite old now, it has phenomenal dynamic range and image quality. (In capable hands, I still consider it world class. It is only budget now, because it is older).

However, getting back to lenses, what if we really think about why some lenses are better suited to certain shooting applications? If we put initial cost of owning a lens aside, how do we then select a lens after that? Should we shoot landscapes with a lens tuned for portraiture? What about the other way around? Should we try shooting the night sky with lenses that were never intended for that purpose? What happens if we do these things? Why can’t lenses be perfect for every subject?

Balance

A lens designer is an architect of optics that must balance science with art. This isn’t dissimilar to a photographer. We hopefully balance technical craftmanship with art, to hopefully produce an image that produces an idea, a feeling, a journey, an expression of emotion. Someone I speak to often about lens design - someone who knows way more about this than me, once told me that lens design is a balancing act; a veritable horse trading of parts - a give and take in a very real sense. The designer can trade and optimise one thing, which will perhaps be to the detriment of another optical property. And this is why, truly great lenses often fall into different categories, of course by design. This is exactly why, we should at least consider which lenses we are using to shoot which subjects. Would another lens work better? Many of us do this by looking at reviews - I will myself admit I do enjoy doing this. Despite doing so however, for many years I have begun to question the efficacy of tests for a lens clearly designed to be shot (or is optimised overall) for infinity shooting, being tested with a close up scene in a studio or a garden? What would that really tell me about a lens that was clearly optimised for something else entirely?

We have never lived in more sophisticated age than we do presently for lens design, and it has only gotten better. Lens design is dramatically improved vs decades ago by computer aided design, and relatively speaking, manufacturers’ are able to provide us with excellent lenses compared to thirty years ago for reasonable prices. 35mm format photography now approaches medium format in quality when optimal lenses and technique are melded together. The designer has access to tools they simply did not have in those times past.

Aberrations

All optical equipment has to contend with the properties of light, with regards to how it refracts through lens elements. An aberration simply refers to the deviation of a light ray through a lens causing blurred images, or areas of an image which are blurred / degraded in quality. There are many types of aberrations which can hamper final image quality that the designer must contend with and balance. The big ones are, vignetting, distortion, field curvature, chromatic aberration, comatic aberration, spherical aberration and astigmatism. Many types of aberration improve when stopping a lens down through it’s aperture range, however some do not - which dismantles the old cliché that all lenses are the same by f/8: this is simply not true.

  • Vignetting - This is a peripheral shading (darkening) of the side frames and corners of the image. This tends to affect faster lenses more and always improves when stopping down, due to the aperture blades of the lens obstructing the outer light path as the lens is stopped down.

  • Distortion - An obvious optical problem is when the lens distorts things like vertical or horizontal lines or objects. Lens distortion is different from perspective distortion (the distortion we see when using an ultra wide lens on a person close up). Distortion can either be barrel or pincushion, or sometimes a mixture of both.

  • Field Curvature - This occurs when light rays do not attenuate to the same focal plane, we are left with potential dead spots were the lens isn’t sharp (or it is less sharp). Field curvature can come in different types, wavy etc.

  • Chromatic Aberration - There are two types. ‘Longitudinal CA’ occurs when different wavelengths of colour do not converge at the same point after passing through a lens, also known as bokeh fringing. The second type, called ‘lateral CA’ occurs when different wavelengths of colour coming at an angle focus at different positions along the same focal plane.

  • Comatic Aberration - Also known as ‘coma’ is an aberration that occurs when light rays from the edges of the image pass through glass elements over the changing shape of the lens elements, they vary in magnification and become stretched out. This aberration only affects off axis light. In astro work, stars on the periphery / corners of the frame can literally look like little comets.

  • Spherical Aberration - This occurs when light rays focus on different planes after passing through a spherical surface. Rays that pass off axis refract more than rays passing horizontally through the centre of the lens and thus cause this. The rays that pass through the elements off axis refract so much they can focus in front of the intended focal plane. This can cause a blur / glow in images at fast apertures. Sometimes this is desirable in small quantities and is balanced with other aberrations to optimise a lens for a specific task.

  • Astigmatism - Known as the ugliest optical aberration. Astigmatism occurs when the lens elements fail to focus image lines running in different directions in the same plane. This one doesn’t really go away as we stop down the aperture of a lens (I have previously spoken about how not all lenses are the same at f/8, and this is one of the reasons). As we stop down, the increasing depth of field can mask a lens with some astigmatism in it, but often not fully account for the problem. Astigmatism causes softness to the edge frames in many lenses, in astrophotography it produces winged seagull shaped stars at the edges.

Lenses for Landscape Photography

Loch Garry Scotland Nikon Z8

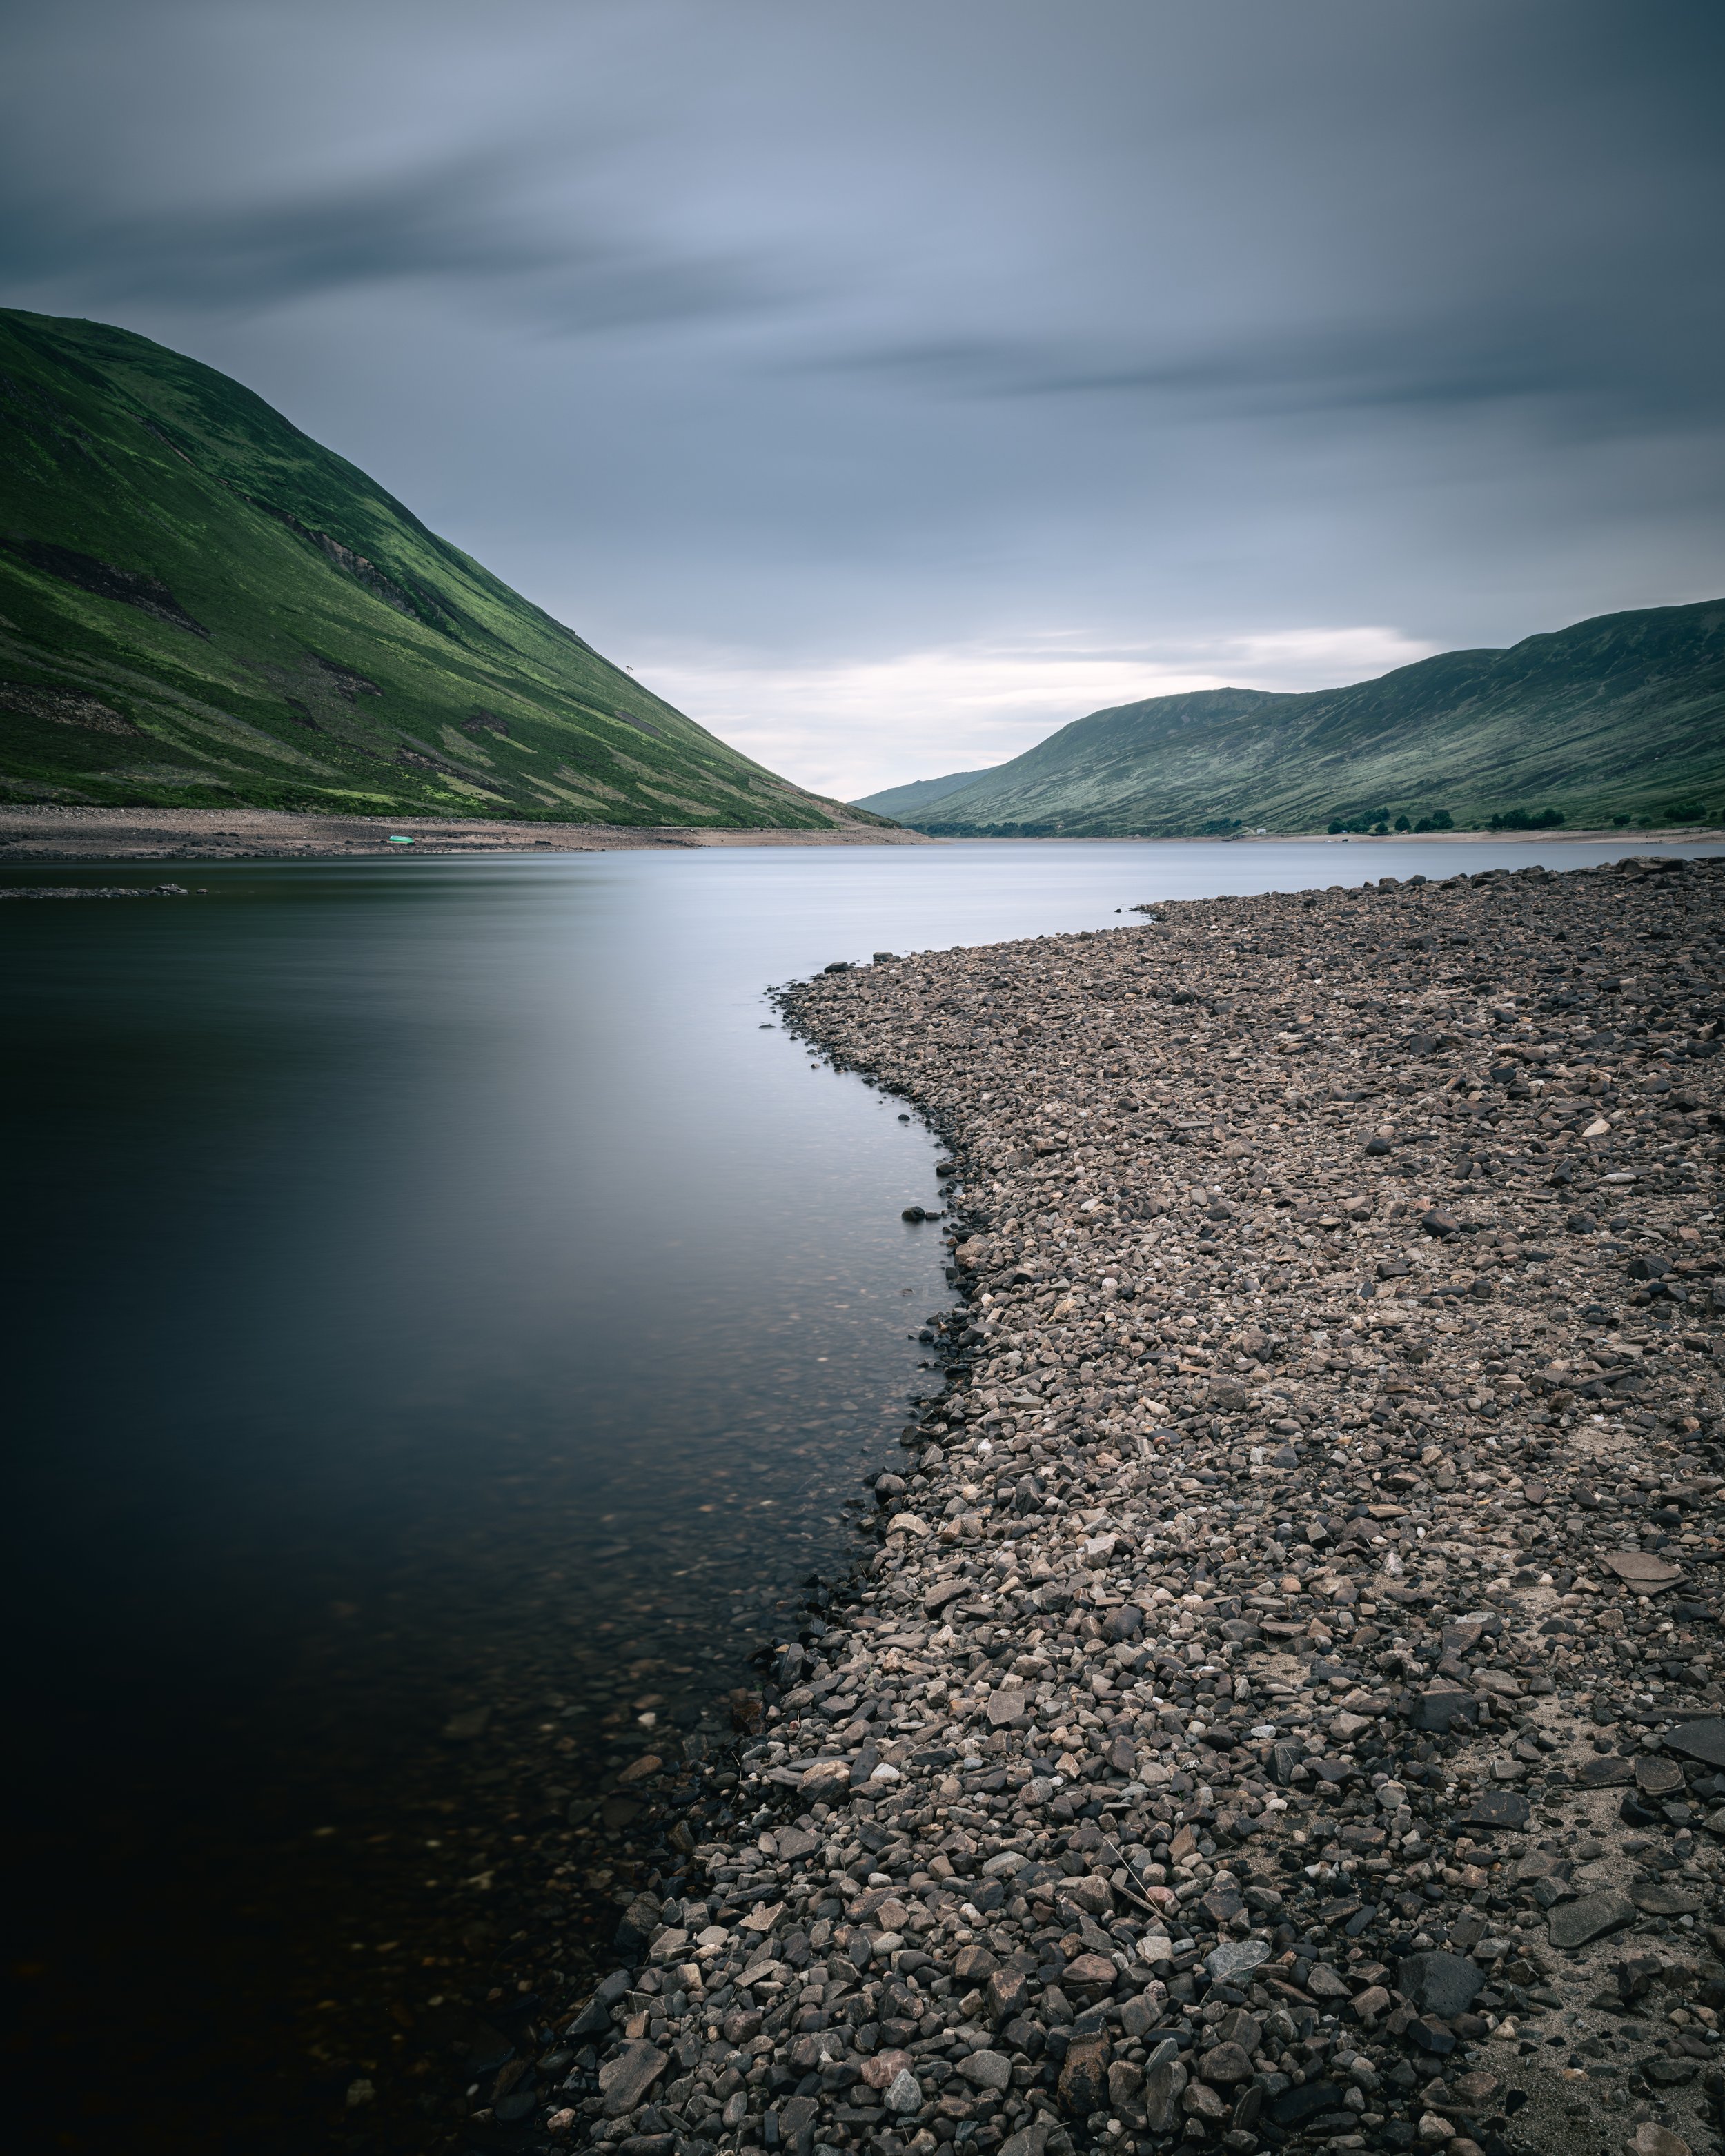
Loch Garry - Nikon Z 8 with 24-70/2.8S

Generally speaking, most landscape photographers want lenses that portray a very detailed and realistic interpretation of the scene. Landscape photographers need an accurate representation, and where possible, a lens which imparts nothing onto the image other than the scene in front of it. This includes fine detail, such as in grasses and rocks at near and far distances. Generally speaking, a good landscape - tuned lens is optimized to provide as much low, mid and high frequency MTF structure as possible. Controlled aberrations, sharpness balance across the frame (rather than just centrally), control of coma, astigmatism, flare and other optical phenomena are important to shooters in this genre. Lenses for landscape photography use tend to be f/2.8-4 lenses at their maximum apertures. The are usually designed to work best at mid range apertures such as 5.6-f/11 where they will be used most of the time. Lenses for this genre benefit from being sealed from dust / moisture to protect from inclement weather conditions. One thing I would highlight here is, there is a great deal of confusion from our community regarding lens speed. People will often balk at the suggestion of using a fast aperture lens for this genre of photography, because it is likely, mostly, going to be used stopped down in the field. It is understandable why they think like this, however it is a fallacy - we must consider that some aberrations do not go away as we stop down. Sometimes the faster glass just works better overall, even stopped down.

Lenses for Portrait Photography

Nikon 85mm f/1.4D baby Portrait

Boy and his Balloon - Nikon D800 with 85/1.4D prime

Lenses for this genre have completely different aims. The best ones are obviously designed and built to make people look good. Out of focus areas have much more priority in the design, things like spherical aberrations and coma are adjusted in different ways than in landscape lenses to balance the background out of focus elements, with the sharpness of the subject and the focal plane transition areas. Lenses for this genre tend to have faster maximum apertures in order to be able to produce large areas of defocus (bokeh) in front and behind of the subject. These lenses tend to be optimised for use at their widest, or wider first few apertures, whilst still being able to balance scene fine detail when stopped down at close range.

Lenses for Astro Photography

Astrophotography 14-24/2.8S Nikkor Isle of Skye

Orion over the Quiraing, Isle of Skye - Nikon Z 8 with 14-24/2.8S

This genre is by far the most testing for any optical equipment. Point light sources, which are essentially what all starlight is to us, is a torture test to even the best of lenses. The three big ones in astro photography that we want to see controlled; are astigmatism (winged stars on the corners of the frame), coma (comet shaped stars out with the central axis) and chromatic aberrations (purple / green halos around areas of high contrast). If the designer can balance this with a good level of sharpness, especially across the frame from wider apertures, and a reasonably fast aperture to boot, the lens should excel on starlight.

Dual Personality Lenses

24mm f/1.4G nikkor arcade portrait

At the Arcade - Nikon D810 with 24/1.4G, a true dual personality lens

There is a very real situation whereby a lens can be a master in two disciplines. Let us consider, a fast aperture prime lens, for example the 50mm f/1.2S Nikkor. Clearly built as a portrait lens, and designed to work on people, it produces beautiful rendering at it’s first few apertures and at close ranges. However, use it at infinity, stopped down and it technically speaking is an excellent landscape lens also. There are many examples of such lenses. An older design that this applies to, is my 24/1.4G nikkor. Wide open and stopped down to the first few apertures, this lens is a bokeh, focus transitional rendering piece of magic. However, use it on a landscape at f/5.6-f/11 and it is extremely capable. I find this quite curious, and I have often bought lenses with this personality in mind. I used the 24/1.4G for many years as both an environmental portrait and landscape lens. What I like most about a lens like this is it’s ability to give a cinematic look in pictures such as the one I have shared above, and also be very proficient and showing vast amounts of detail and contrast when used stopped down on landscapes. It is perfectly capable in both disciplines. Needless to say, I like owning lenses that can do this, and as much as I like using zoom lenses for landscape photography, I love using primes. on people / objects. I keep the zooms for landscapes now.

NB - I shot most of my landscape work with prime lenses up until very recently.

Shot Discipline for Image Quality

Settings count for a lot

What is good shot discipline?

Beginners often ask me settings. Questions can be as vague, as “What settings are good for a wedding”. They are often talking about shutter speeds, ISO, and aperture values when asking this. Of course, this is a question that has no real answer, however I do understand why people ask it. Of course, settings are built around the very scene you wish to capture, and the style and way in which you wish to capture it. This is then dependant on a multitude of factors, including the camera and lens combination, the light, subject, overall scene, motion, the photographer’s creative vision for the picture and more. There is no way we can issue settings for a wedding next July and hope they will work in any way. What we can do however, is build an instinctive understanding of shot discipline at our fingertips which serves us for each and every scene and subject we shoot. Then we truly become masters of the final picture and achieve the results we want in any given situation. It is only by training oneself to really intuitively understand settings and therefore exposure, that we are really ready to shoot something like a wedding. For example, as a photographer, if you are going into a wedding and the pressing concern in your mind is exposure settings; then you are as they say, simply not ready to shoot a wedding.

ISO - Maximising Quality

Regarding the above question, technically speaking, the best settings are the ones which allow your ISO to be at it’s lowest, or closest to base value, whilst keeping the subject sharp and in focus with no motion blur. Why do we do this? I see this all the time, even on websites with photographers’ that should know better - they even write their settings below the picture as if they make sense to be using them, as if they are some holy grail. We know that the best image quality exists at base ISO. That includes, overall dynamic range, noise, colour, shadow detail, and everything else. Because we know this, we should stop taking pictures with settings such as these of static objects - ISO 1600, 1/4000, f/2. If we are at ISO 1600, we are already sacrificing quality and we simply don’t need to. We don’t need a shutter speed of 1/4000 to handhold a photograph of something that isn’t moving, especially with a short lens like for talking sake, a 35mm prime. We can drop down to ISO 800, 1/2000, f/2. We can drop down again to ISO 400, 1/1000, f/2. We can then get to ISO 200, 1/500, f/2. Then we can drop to ISO 100 with 1/250 and f/2. If we need more shutter and the lens opens up to f/1.4 we have even more options. If the lens is under 135mm, there will likely be zero issues. Now we are, for many cameras, at base ISO using some very simple mathematics.

I tend to control ISO myself, as I rarely move it unless the situation changes, and all my camera’s have a dedicated button to do so (this is so important, never shoot with camera’s that don’t have this option). I do not like auto ISO as it does poorly with backlit or front lit subjects and it simply cannot achieve what my minds eye can.

Shoot RAW

Unless you absolutely need JPG for some time pressured thing, or other reason, I highly recommend never using it for shooting. You have bought a nice camera, let’s use it’s full range and ability. Better yet, if we screw up, RAW can save us later on. Shoot RAW, there is no debate on this, if you want to maximise image quality this is the mode you need to be using. With Nikon, choose the uncompressed or lossless compressed RAW setting.

White Balance

White balance tends to matter less when shooting RAW format. WB can be changed in software, when developing the RAW file later. However, there are certain reasons to set a manual WB. In disciplines such as astro photography, when it is common practice to stack multiple hours of data together, we need a consistent WB for that process. Other times when you might consider a pre-determined WB would be a scene that can be measured with a WB card, or to save time with processing consistency in post processing.

Best Shooting Modes

  • Aperture Priority - When shooting a wedding, this would be the mode that most would use. Let the camera’s computer do some of the heavy lifting. Control ISO yourself and aperture and focus on light and composition. Flash, would involve moving to manual mode as this allows better control of background exposure

  • Manual - The mode that all landscape photographer’s live in. I also like this mode for shooting portraits that are slower and more deliberate.

  • Other Modes - Shutter Priority, I am not a fan of. I can simply use aperture priority and look at the shutter speed. I have never personally seen the need for this mode, but if it works for you, there is of course nothing wrong with using it for shooting anything you need. Auto, also not a fan of, just forget about it unless you are handing your camera to someone very inexperienced.

Metering

Ensure that you can capture all the relevant scene data in one shot. If not, consider bracketing (tripod required). Use the camera meter and histogram in order to do this. There are many techniques to consider, the most logical one I will touch on here is exposure to the right (ETTR). This is a technique where we use the camera histogram to push the data as far to the right without clipping any highlights. This allows the best shadow detail and fidelity to the overall file, and allows the file to be the most malleable in post processing. This is a topic that I will eventually get to in more detail. NB - note that camera manufacturer’s are lazy. We still don’t have RAW histograms, and the generated histogram in camera is based off of a JPG preview. This is better than nothing but RAW histograms would be the ideal solution. It is therefore important to try and stick to a lowered contrast picture control setting when shooting.

Picture Control

Picture controls can be thought of as unimportant, because of course we can change this all later, and it depends on the final edit software, as to how the image is displayed on a monitor. However, as I alluded to earlier, if you are trying to capture quality data, having a high contrast picture control will not let you see the clip points of the highlights or shadows. Due to this, I recommend to use a neutral profile on most cameras. Flat can also be used, but I find it so faded in so many settings that it can be distracting using it. I consider switching to it in scenes of ultra high contrast, for example at sunrise / sunset times I do use it, along with bracketing of exposures for blending in post processing.

Focal Length and Subject Size / Motion

It is very important to consider what I have detailed above. I have spoke about a static subject. The game changes when we increase focal length, and / or increase the MP density of the sensor, if we wish “per pixel focus” (perfect looking focus at 100% views on large monitors which show no motion blur). With longer focal lengths we need to contend with motion of the viewed frame in the view finder (which could show up in the end picture if we are not careful). Things like Vibration Reduction (VR) and IBIS can prevent this issue, or at least, reduce it. Longer focal lengths, or being closer to the moving subject itself, magnify the view into the scene, and will also magnify the blur if a subject is fast moving, relative to our sensor. If a subject was running at the camera, I may not want to drop my shutter speed too low. This is something that simply comes with experience. The easiest way to build up experience is to test it out on static subjects, such as museum pieces. See how long you can get your shutter speed whilst keeping a sharp shot, and see how close you can get to base ISO. Then try varying speeds of moving subject, with different lens focal lengths.

Nikon D800, 85mm f/1.4D, IS0 640, f/1.4, 1/320

In the above shot, my son was basically motionless. I could have probably dropped down to ISO 400-500 easily and the resulting shutter speed would have still been adequate to stop any slight motion present. It is important to consider though, that despite good shot discipline being a cornerstone of good photography, it shouldn’t get in the way of such. That is, if the settings are close to perfect and the moment presents itself, do not bother wasting time to adjust something as meagre as dropping half a stop of ISO. You could miss the picture! Look at the meter, quickly adjust if required and shoot the picture. Here is another, very static scene, now we only have the motion of the photographer and camera / lens combination to consider…

Muem with a Fan, Burrell Collection, Glasgow - Nikon D810, 24mm 1.4G - ISO 64, 1/40, f/1.4

Notice the settings. I am at base ISO of 64 for this picture because I know I can confidently handhold a 24mm prime at 1/40 shutter speed. This is a really practical example of why I always practice good shot discipline. Notice the outside area to the upper right of the frame which is spilling up with bright overcast daylight? If I where at ISO 200, 400, that area could have become blocked up white. (We know that as ISO increases, dynamic range lowers). In museums, we rarely want or are allowed to bring tripods to bracket exposures - so by practicing with this technique, I was able to gather all the data at the scene in one RAW file, and process it with a luminosity mask to bring it all back, producing a pleasing well rounded shot. What I love about shots like these, is the sheer depth and 3D nature you can impart into a 2D image. It really is quite beautiful, and it is the reason I simply love using prime lenses such as these (and not slow aperture zooms) to create pictures like this.

The next time you are out shooting, think about good shot discipline…if you aren’t already, shoot in RAW format, drive the ISO of the camera and use manual mode, or Aperture Priority, driving the exposure compensation buttons to control the scene in front of you.

Steve